How has your sewing been going? Have you attempted Block 2 without the blog showing the step by step in pictures?
For me, Block 2 was a lesson in material selection and how it affects the final look of the block.
For the instructional pictures you will see the original material I chose. After completing the block I was very unhappy with the look and decided to change materials and redo the block. I will post a picture of my final block -- I was quite pleased with it!
The Double X Block is a great compliment to our first block, the Hour Glass Block, and was chosen to strengthen our skill levels in working with half-square triangles and alignment of the individual blocks that comprise the rows which makeup our block.
The Double X Block, created by Janet Wickell, is easily pieced using three plain squares and six half square triangles. Our blocks will measure 12 1/2" square when completed.
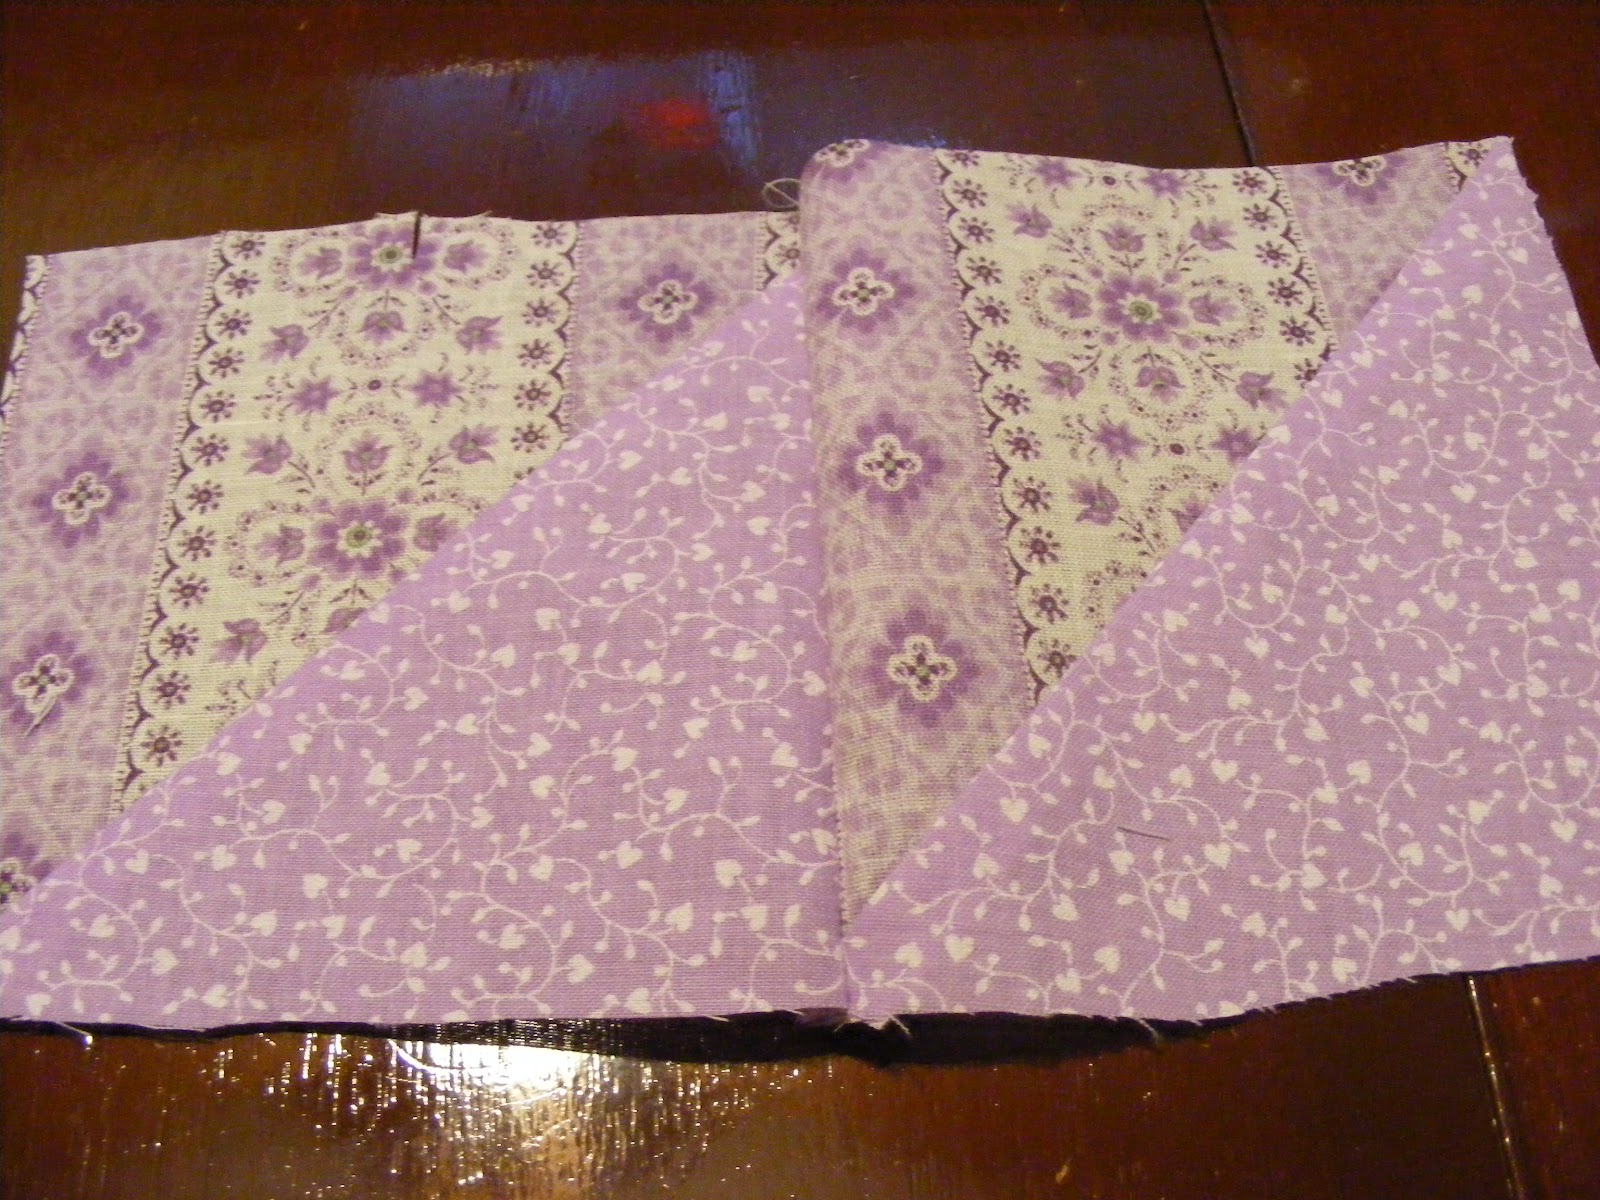
For this block, my original material choice was comprised of soft lavendar and white fabrics as shown in the completed block below:
 |
| Double X Block |
For our Double X Block- I labeled my fabric as such:
Fabric A - lavendar and white stripped material
Fabric B -- lavendar with small white vine print material
For cutting the material, you will need the following:
Fabric A -- (3) 4 7/8" squares, (3) 4 1/2" squares
Fabric B -- (3) 4 7/8" squares
As you did in block one, make sure the fabric you are using is clean and pressed with edges matching.
Pin your templates to your fabric carefully placing them to maximize your cutting space.
All seam allowances will be 1/4" seams.
Begin the block by constructing the half square triangles just as you did for the Hour Glass Block
- Place (1) Fabric A 4 7/8" square with (1) Fabric B 4 7/8" square -- Right Sides Together.
- With a ruler, draw a diagonal line from the upper left corner of your squares to the lower right corner on the "wrong side" of your fabric
- Stitch a 1/4" seam on each side of the line
- Separate your squares apart by cutting up the drawn line
- Press the seams to the darkest side of your fabric
- Repeat until you have constructed all six of the half square triangles

- Trim the ears off your completed half square triangles
 |
| Half Square Triangle with Dog Ears Showing |
 |
| Dog Ears Trimmed |
Once you have constructed all the half square triangles, begin assembling the rows
Construct Row One
- Join (2) half square triangles using a 1/4" seam with the point of the Fabric B triangles pointing downward as shown
- Add (1) 4 1/2" Fabric A square to complete the row
 |
| Row One - Assembled |
Construct Row 2
- Join (1) half square triangle with the Fabric B triangle point downward to the right (as shown) with (1) 4 1/2" block from Fabric A
- Add (1) half square triangle with the Fabric B triangle pointed upward to the left


Assemble Row 3
- Join (1) Fabric A 4 1/2" square with (1) half square triangle with the Fabric B triangle pointed upward to the left
- Join the remaining half square triangle with the Fabric B triangle pointed upward to the left to finish the row

 |
| Row Two - Assembled |

 |
| Securing Rows with Pins (Butt Seams for Perfect Match) |
|
| Adding the Last Block to Row Three |
 |
| Rows One and Two Joined - Adding Row Three |
 |
| Joining Rows |
 |
| Double X Block - Take One |
As I mentioned earlier, fabric selection plays a major role in the final look of your blocks. Separately, I loved this fabric for its soft and sweet appeal but once I constructed the Double X block, I found that I did not like it together for this block style. In my opinion the colors almost blend into each other too much and there is not enough of a dramatic effect. While the block is pretty and can be used for projects with a soft subtle appeal (such as a baby quilt), I just wasn't satisfied with it for our friendship sampler.
With that in mind, I went back to the drawing board, or should I say my fabric stash and found materials I liked better for this block design. I chose a fabric with a yellow background adorned with green vines and pink roses and for my second fabric (fabric B) I chose a green fabric with small print. The result was much more to my liking!
 |
| Rethinking My Fabric Selection |
 |
| Final Double X Block |
I would love to see pictures of your blocks! Please feel free to email them to me at JanEgirl67@sssnet.com as an attachment -- I can then share them with our Stitching Friends!
Be on the lookout for Block Three coming your way very soon!
Are you having fun learning how to quilt ladies? Do you find the instructions/blog helpful? What can I do better to help you? Your feedback is appreciated so let me know!
In Stitches,
Jan
Jan
No comments:
Post a Comment