Here are some items you will need as we get started:
Sewing machine
White Thread
3 fabric selections (1/4 yrd of each)
Seam/Stitch Ripper (in the event you need to take out and redo a seam - hey, it happens)
Straight Pins
Sissors
Pattern templates (I will email them to you but first you need to send me your email addresses!)
Iron and Ironing Board
Remember, I am going on the assumption that you know how to thread and use your machines and that you are familiar with how to align your machine for a 1/4" seam. We will use 1/4" seams for all of our blocks.
The first block we are going to learn is the Hour Glass Block.
What I love about this block is that while it has an easy construction, it is a fantastic looking block that provides texture and visual movement. It is a great beginning block for all of those who have never pieced or sewn before and it will teach you the basics needed for each additional block in our series.
The Hour Glass Block design we are using was obtained from About.com and was designed by Janet Wickell. Thanks Janet for such a great block!
For the Hour Glass Block, you will need three fabric selections. Remember, you will need less than a quarter of a yard of each fabric to construct both your block and your block buddy block.
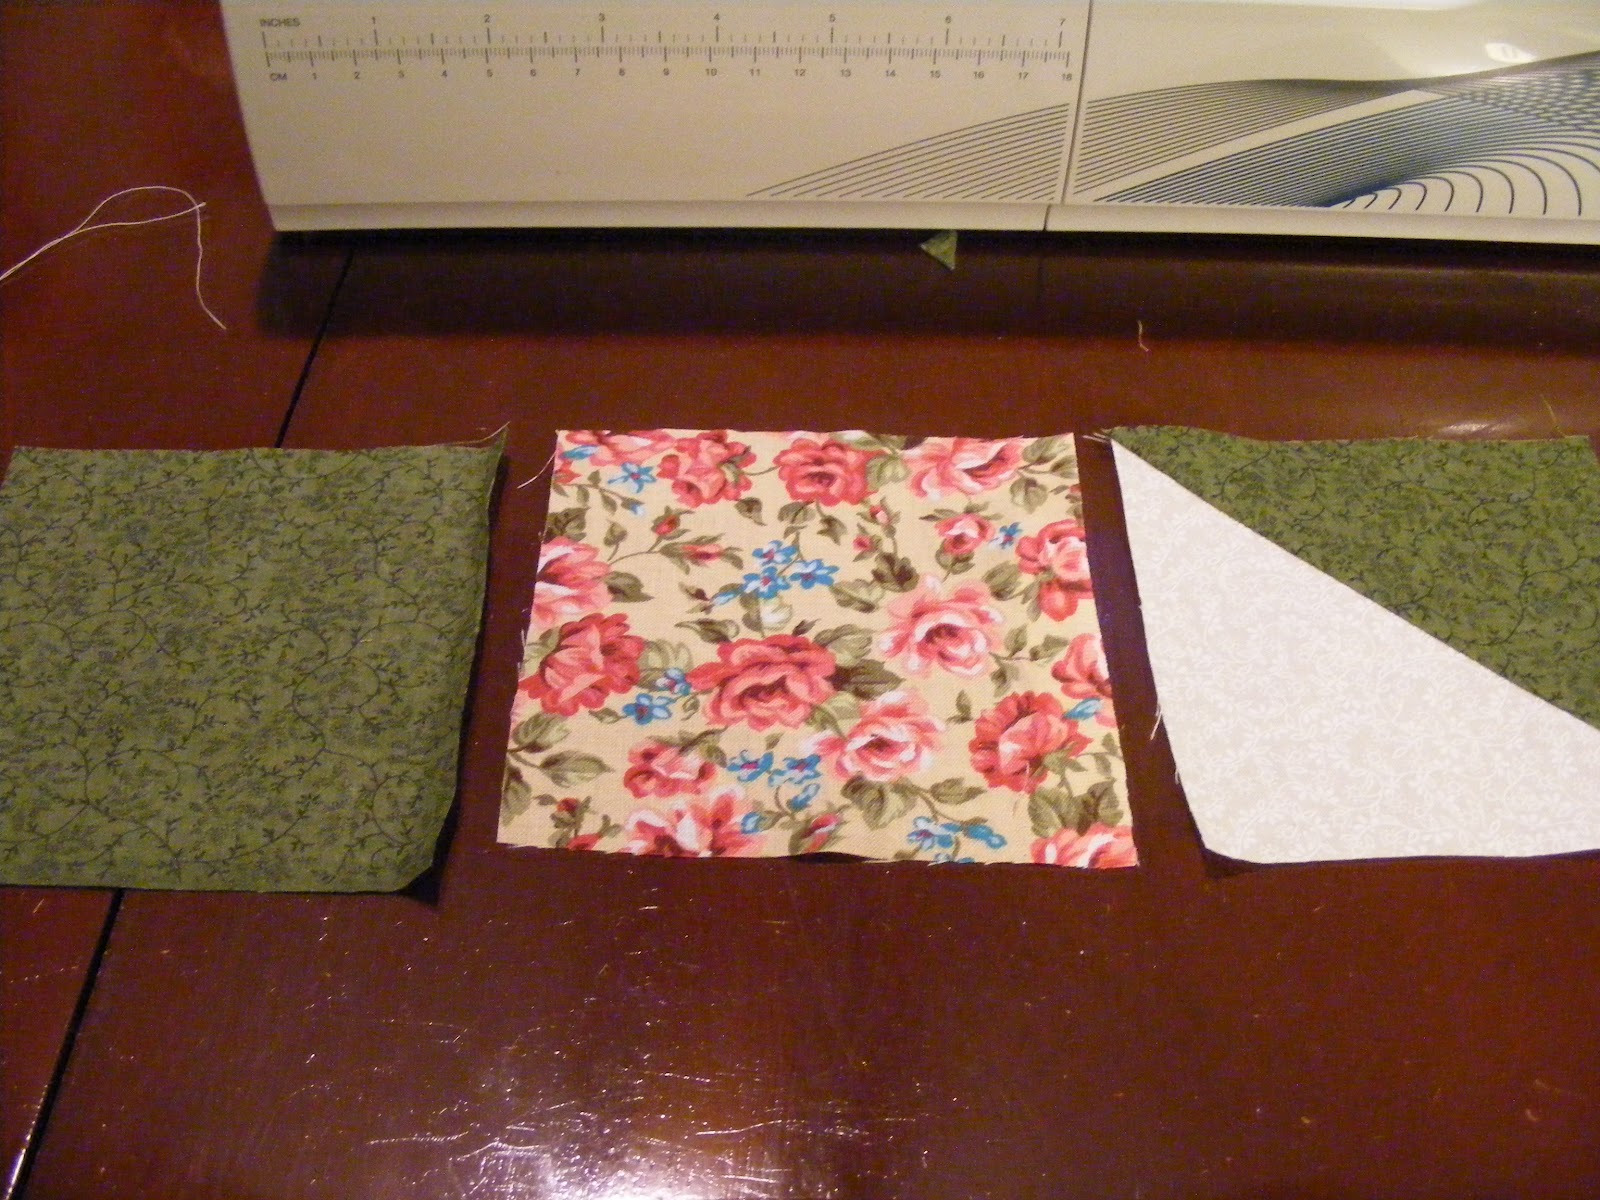
I chose a beautiful floral featuring roses in light and dark pink and adorned with small blue flowers and green leaves on a deep ivory background. To pull out the color of the leaves I chose a green fabric that features a small darker green vine pattern throughout and finished off my fabric selection by adding a light ivory fabric with a similar vine design in white throughout.

The Hour Glass block is comprised of seven plain squares and two half square triangles. This square will teach you the basics of proper alignments and how to construct half square triangles. Constructing half square triangles is easy and once you've learned how to make them you will open up an endless possibility for constructing future squares. Are you ready for a peak at our first block? Okay, here it is...

If you haven't emailed me your email address as yet, please do so as soon as possible so that I can email you the written instructions for this block as well as the cutting templates for your squares. Email your addresses to me at JanWest67@gmail.com or post them in the comments section below. When you receive your emails from me with the block instructions they will come from JanEgirl67@sssnet.com
Are you ready to see how the block is constructed? Let's get started!
The first step in constructing our blocks is to properly cut our material into the sizes and quantities needed.
Accurately cutting our material is essential in constructing a successful quilt block. Piecing is similar to putting together a puzzle where the pieces must fit perfectly together in order to achieve the finished look.
Tips for cutting your material:
- Make sure your material is ironed neatly and not wrinkled or creased
- When cutting, never cut through more than two layers of fabric at one time
- cutting through multiple layers of fabric can cause your bottom fabrics to slip resulting in improper cuts/size
- When folding your fabric, always align your edges so they meet
- most fabrics sold today have a small strip on one side of the fabric that is white and provides design information and a color key (small circles of color) that is helpful when shopping for fabrics that will coordinate nicely.
- always place your template away from the white strip and avoid cutting into it too far as it will show in your finished block if your seams are not big enough.
- Always secure your templates to your fabric with straight pins to avoid the template from slipping
- Always use sharp sissors
- ALWAYS, ALWAYS, ALWAYS, read through your pattern instructions before cutting so that you know exactly how many cuts you need from each fabric. (I can't tell you how many times in the beginning I made that mistake!)
- On your written pattern, identify your fabric selections as A, B, C, etc., to help you not only in cutting but placement as well.
- Floral Print - Fabric A
- Green - Fabric B
- Ivory - Fabric C
- Fabric A you will need (4) 4 1/2" squares
- Fabric B you will need (2) 4 1/2" squares & (1) 4 7/8" square
- Fabric C you will need (1) 4 1/2" square & (1) 4 7/8" square


After you have finished cutting all your fabrics from the appropriate templates, organize your fabric as such:

We will begin building our block by constructing the half square triangles.
To construct each half square triangle take the 4 7/8" square from Fabric B and place it with the 4 7/8" square from Fabric C - right sides together* (*right sides together means place the design side of your fabrics against each other - see below)
 |
| Fabric B & C- 4 7/8" squares placed right sides together |

Once you have ironed or marked the diagonal line in the material it is time to sew the squares together and make our half square triangle! To do this, open both pieces of fabric to expose the line you just created and place the squares under your sewing needle with the position of the need 1/4" to the right side of the crease/line. Stitch from corner to corner as shown below. **Remember, keep your need 1/4" to away from the crease/line and stitch in a straight line across the fabric corner to corner

Once you have sewn on the right side of the line, rotate your fabric and sew on the other side of the line in the same manner. Both stitched lines should be 1/4" away from the crease/line. See the example below:

Next we will separate the materials by cutting along the crease/line in the center. Once we separate and open the material we will need to press the seams to the darkest side of fabric to avoid "bunching" and to keep our squares straight and even. It is that simple to create a half square traingle!
 |
| Cut along the creased/drawn line |
 |
| Once Cut you will have two half square triangles |
 |
| Press the seams toward the darkest fabric |
 |
| Completed Half Square Triangle Unit |
Now that we have our half square triangle units constructed we will begin assembling the three rows that will join together to form our quilt block. Blocks are generally constructed in rows and then completed by piecing each row together in order of its placement in the block.
To construct Row Number 1 we will need:
- (1) 4 1/2" square from Fabric B
- (1) 4 1/2" square from Fabric A
- (1) half square triangle unit
We will start by joining the Fabric B square to our Fabric A Square
- Place the two fabric squares right sides together
- Stitch a 1/4" inch seam up the right hand side of the squares as shown below
 |
| Fabric B & Fabric A - right sides together stitch a 1/4" seam up the right side of the squares |
Join them the same as you did the previous squares by sewing a 1/4" seam up the right hand side of the fabric.

Once you have sewn your 1/4" seam up the side of the half square triangle, open then turn the fabric over and press all seams toward the Fabric A square in the center of the row as shown below


This completes Row 1 for our block. Now onto Row 2
Row 2 will be constructed in much the same way except use the following order for your fabric
- Place a Fabric C 4 1/2" square on top of a Fabric A 4 1/2" square with right sides together and sew a 1/4" seam up the right hand side of the squares
- Follow by placing a Fabric A 4 1/2"square on top of the Fabric C square with right sides together and sew a 1/4" seam up the right hand side of the squares
- Open the row, turn the fabric over and press the seams toward each Fabric A square
 |
|
- Place a Fabric A 4 1/2" square on top of the remaining half square triangle -right sides together. **Make sure the Fabric C triangle is pointed up and to the right. Sew a 1/4" seam on the right hand side of your squares. Open
- Place a Fabric B 4 1/2" square on top of the Fabric A square -right sides together and sew a 1/4" seam up the right hand side of the fabric
- Open the row, turn the fabric over and press the seams toward the Fabric A square


Now to finish piecing our block!
- Join Rows 1 and 2 together by placing them right sides together
- Align your square seams so they are even - secure by pinning with straight pins as shown below **Keep the heads of your straight pins away from your sewing maching needle as this can cause damage/breakage to your needle.

- Stitch a 1/4" seam the length of your row to secure Rows 1 & 2 together. *Pay close attention to which side you are stitching your seam to insure Row one remains the top row when opened.


- Repeat this process by placing Row 3 right side together with Row 2, aligning seam intersections for a perfect match. Pinning if necessary and stitching a 1/4" seam the length of the row.
- Once all rows are pieced together turn your block over and press the newly made seams outward and press your block.
Congratulations! You have just pieced your first Friendship Sampler Block!

Now, I don't want you to be concerned if your block is not perfectly straight and if you have some pieces on the edges that seem longer than the rest. We will square up our blocks by trimming them if necessary before we assemble the blocks into our Friendship Sampler Quilt. The important thing is that your finished block measures 12 1/2" x 12 1/2" at least.
Once we have gathered all our blocks I will walk you thru trimming and squaring off each block. I would prefer we do that at the end and before assembling our quilts so that if adjustments need made we can do so at the same time.
Some things to consider as we progress. A wise investment would be a good heavy ruler or straight edge, a cutting mat, and a rotary cutter. Please be careful with the rotary cutters as they are very sharp! We will use these tools to square up our blocks and if everyone has them we may use them as we progress to do some cutting rather than using the templates. Just a thought.
Okay ladies, how did you do? You should be proud of yourself for taking this first step! Now, you have completed Block 1 - the Hour Glass Block. Time to practice and make your Block Buddy's Hour Glass Block! I am still waiting on your mailing addresses via email so I can assign your first block buddy. Please get those to me soon so we can start receiving our Blocks and start meeting one another!
Happy Stitching!
Well ladies, it has been quite a week -- how are you doing on your blocks? Anyone have their first block completed? Watch your email inboxes as I am sending your first block buddy information to you today :-) Happy Stitching! Block Two will be posted Sunday!
ReplyDelete